Things to Know Before Hiking the Highline Trail | Glacier National Park
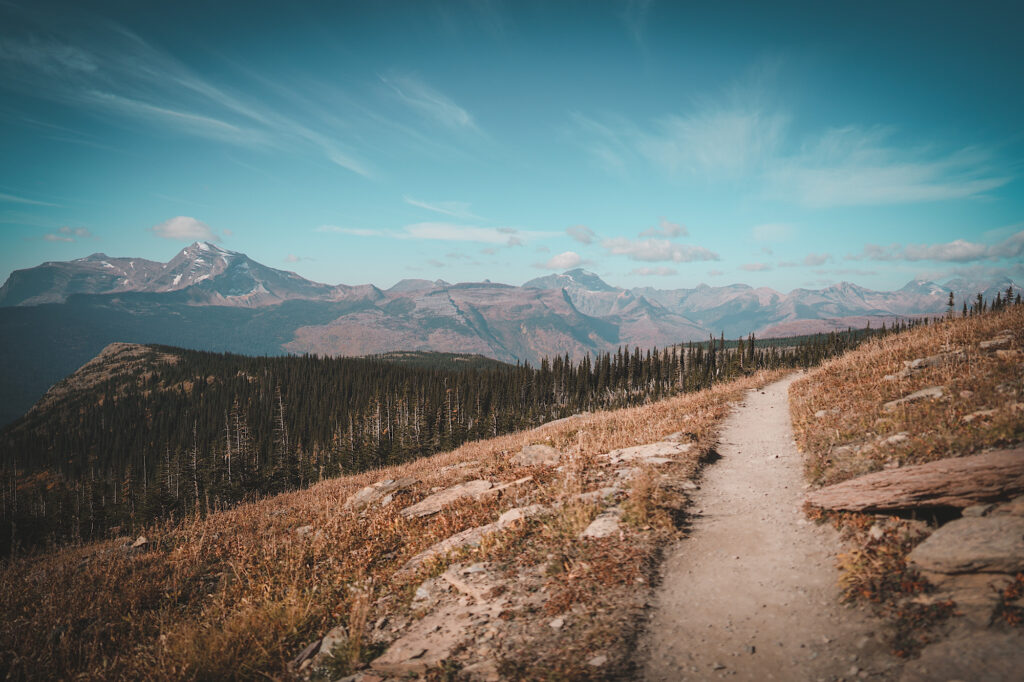
The Highline Trail is one of the most popular hikes in Glacier National Park – but, it isn’t for the faint of heart. It is not a trail for just the average hiker; however, you can do as little or as much of it as you want. I am definitely not the most in-shape person, and I was (struggling) still able to complete over 16 miles.
This trail is typically a one-way hike, but the shuttle wasn’t running for us, so it was an out-and-back hike. We started at Logan Pass and set on our way. The other end of the trail is from “The Loop,” but typically everyone starts at Logan Pass.
LANDMARKS
Throughout the hike, there are a few different landmarks that sort of tell you how far you are. We only made it to the Grinnell Glacier Overlook, which was around 7.2 miles in and then 0.6 miles up with a 900ft elevation. We turned around after this, because we had to do an out-and-back hike.
If you get to go when there is a shuttle, you will also be able to hike to Granite Park Chalet and then “The Loop.” This makes the hike a total of 11.8 miles.
Haystack Butte
The first big landmark you will reach is Haystack Butte. It sometimes has different names, but we are sticking with Butte. Haystack Butte is around 3.6 miles to hike to, and it is definitely the most popular spot for hikers.

Because it’s the first stop from Logan Pass, and it is only 7.2 miles round trip, a lot of people only hike to Haystack Butte. And I don’t blame them! Some people simply don’t have time for an all day hike. If the shuttles aren’t running, the next stop is what we did, making it a 15-16 mile hike instead of 11.8 through hike.
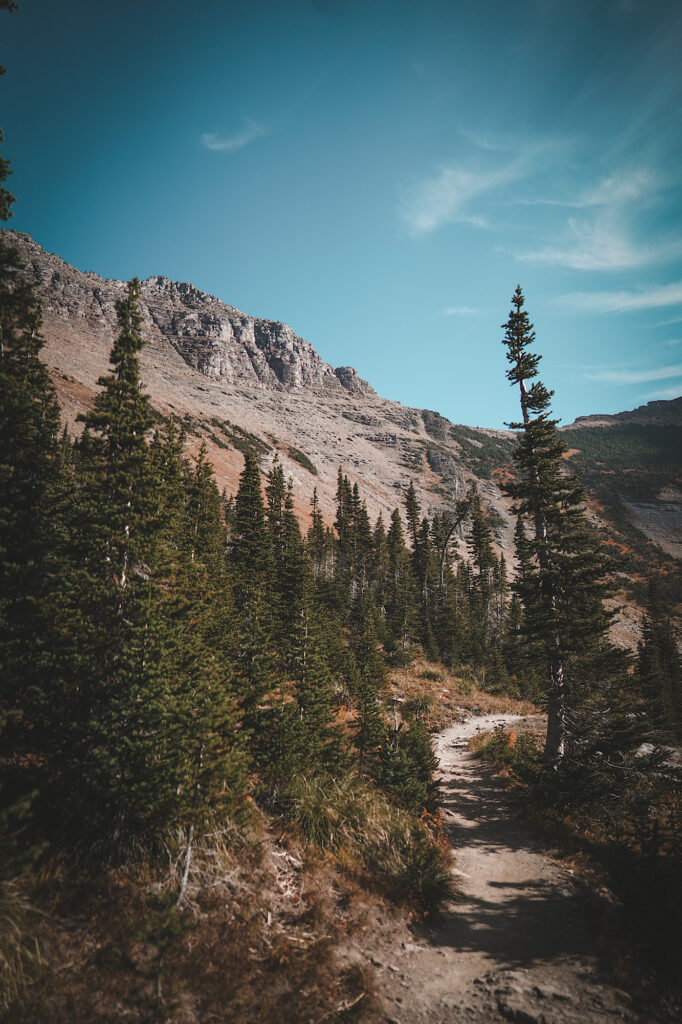
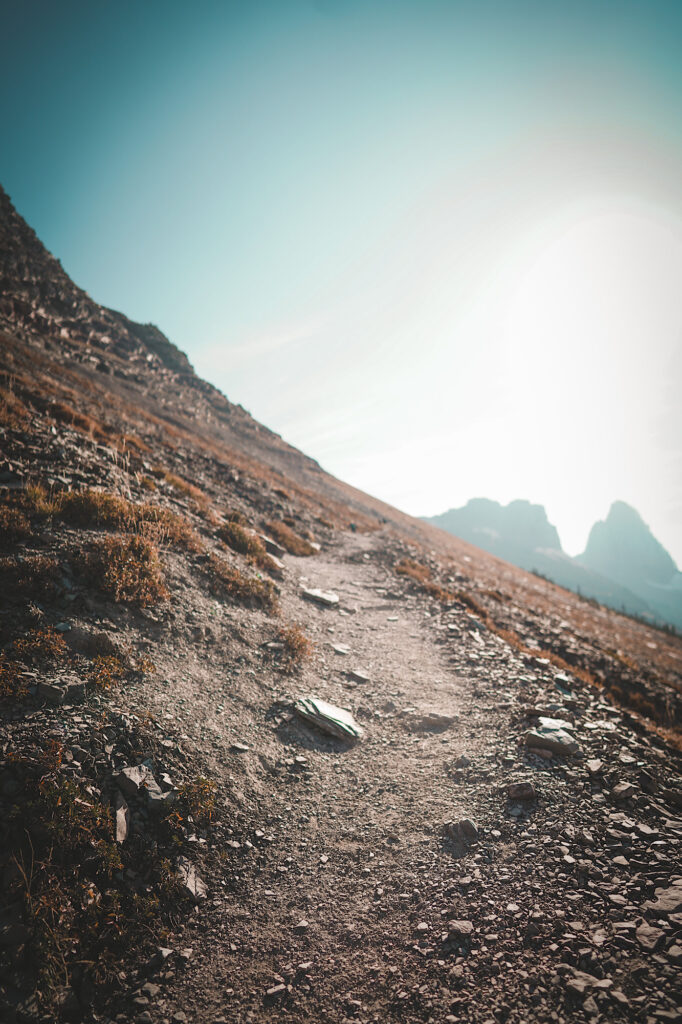
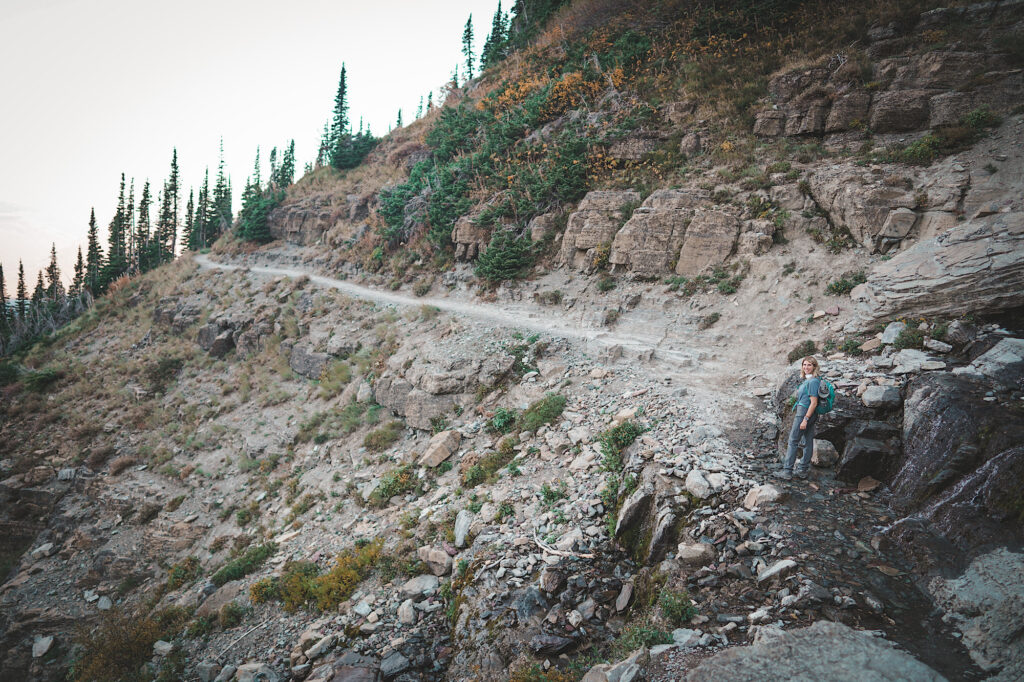
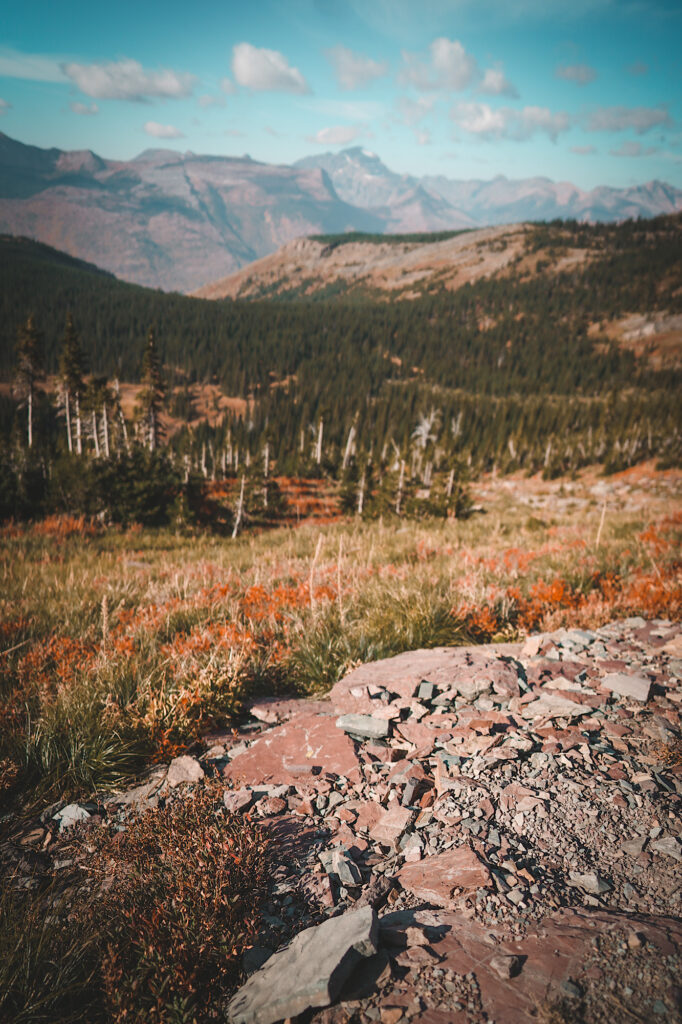
Haystack Butte is located directly after a steep switchback trail, but up until that, it is an easy-moderate trail. Because it is located higher up, the views are incredible. It also makes for a good stop to make sure you drink water and eat a snack or lunch! There are a lot of large, flat rocks that make for a good sitting area and it is very spacious.
Grinnell Glacier & Overlook
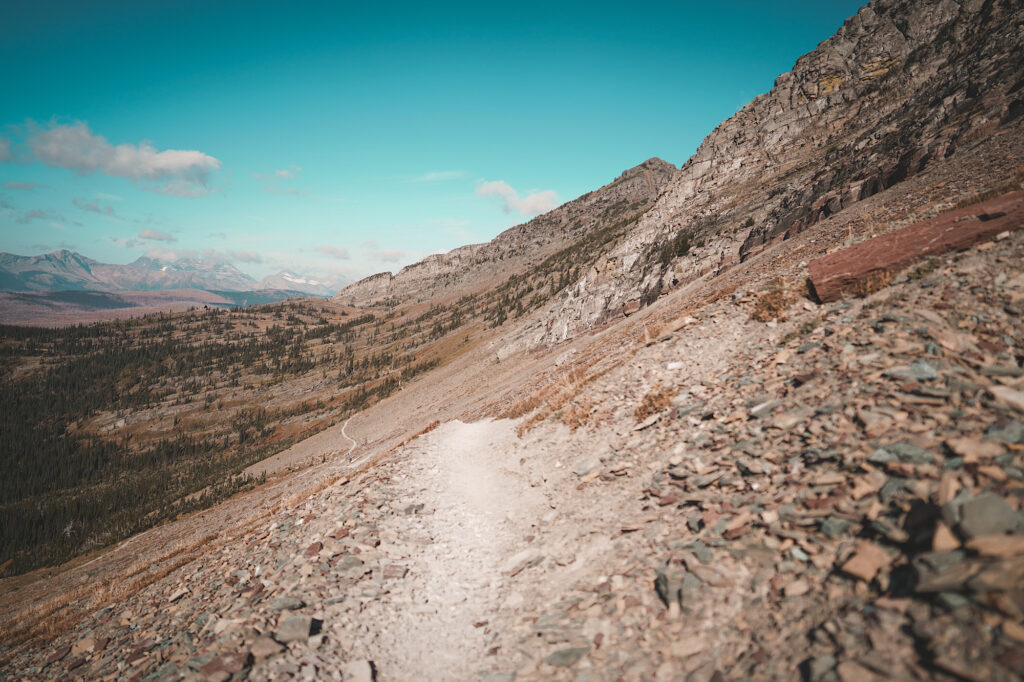
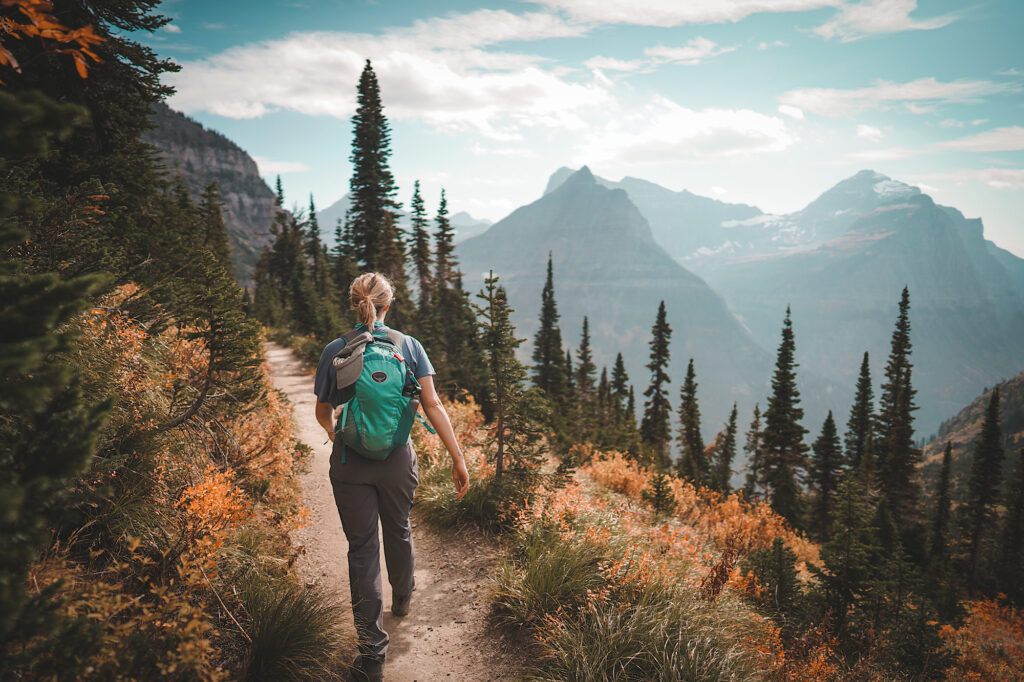
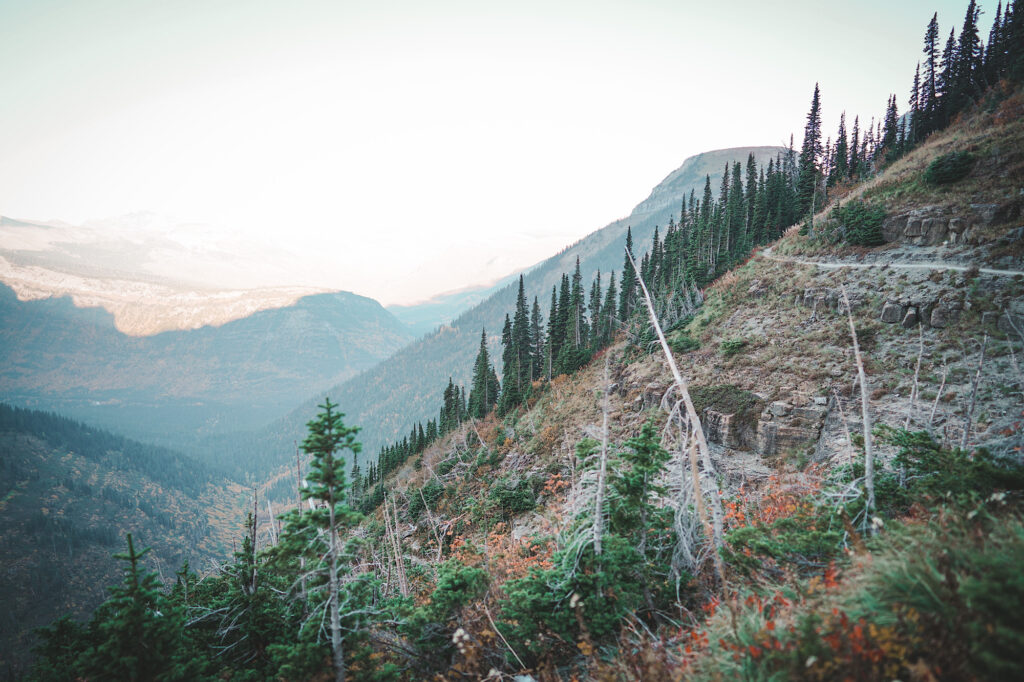
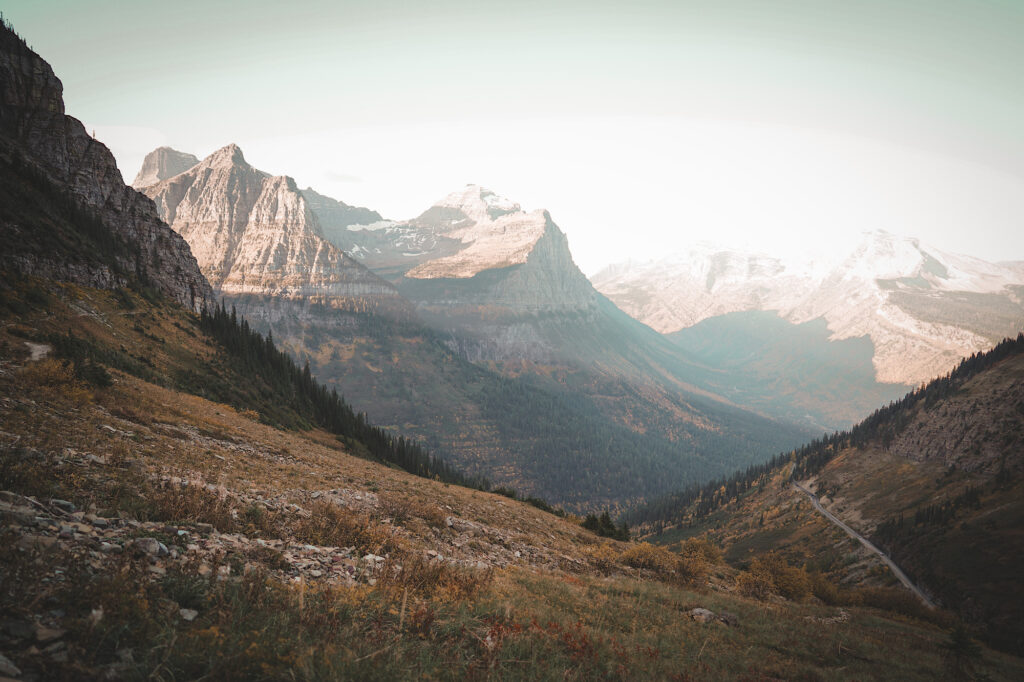
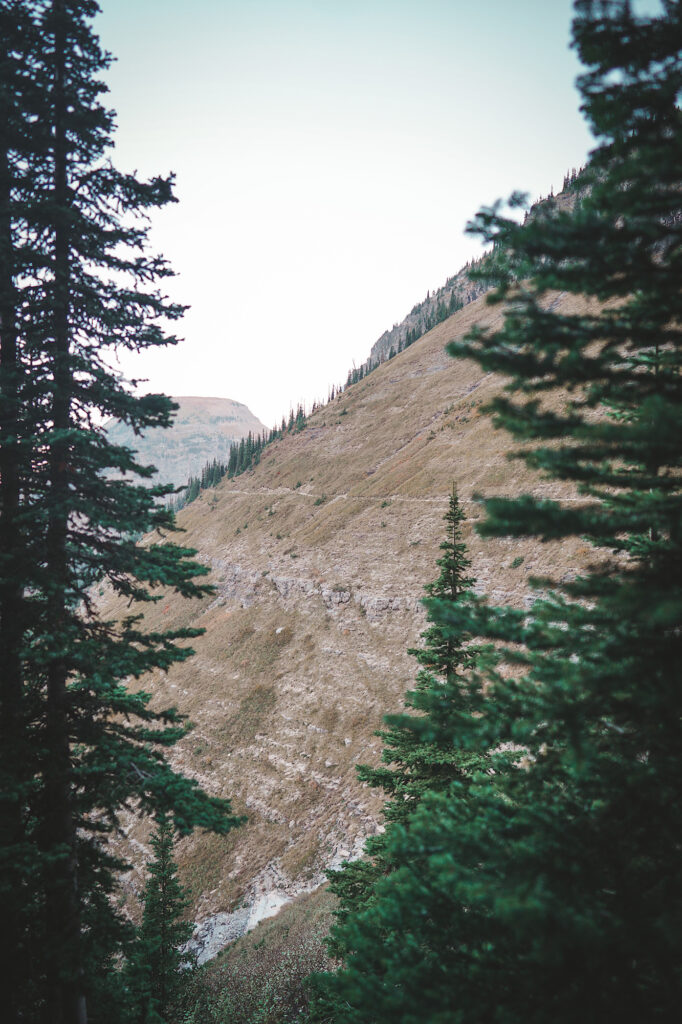
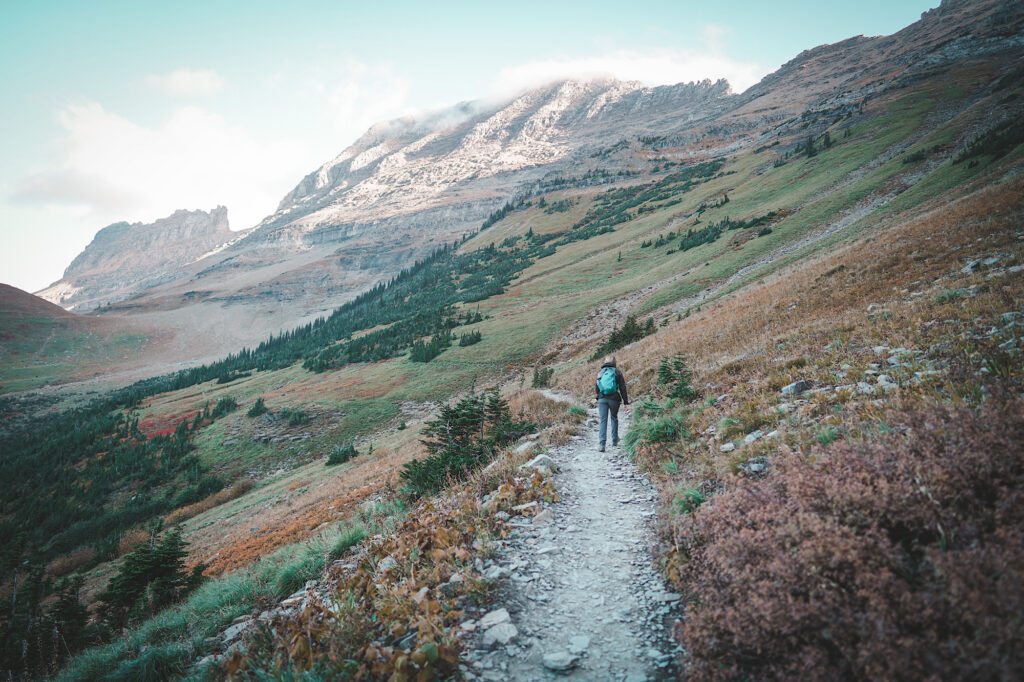
If you’re up to it, you can keep hiking and go a total of 7.2 miles to Grinnell Glacier. The trail only becomes more beautiful. It also becomes quiet and peaceful. The farther you hike, the farther you get away from the sounds of cars, people, and civilization.
The trail levels out as you get closer to the Grinnell Glacier sign. But, once you get there, it’s a different story. At about 6.6 miles, you’ll see the mile marker sign that signals you should turn right to go up to the glacier overlook. That is when you hit the 0.6 mile, 900ft elevation gain. Honestly, at first glance, it just looks like a hill. It doesn’t look as steep as it really is.
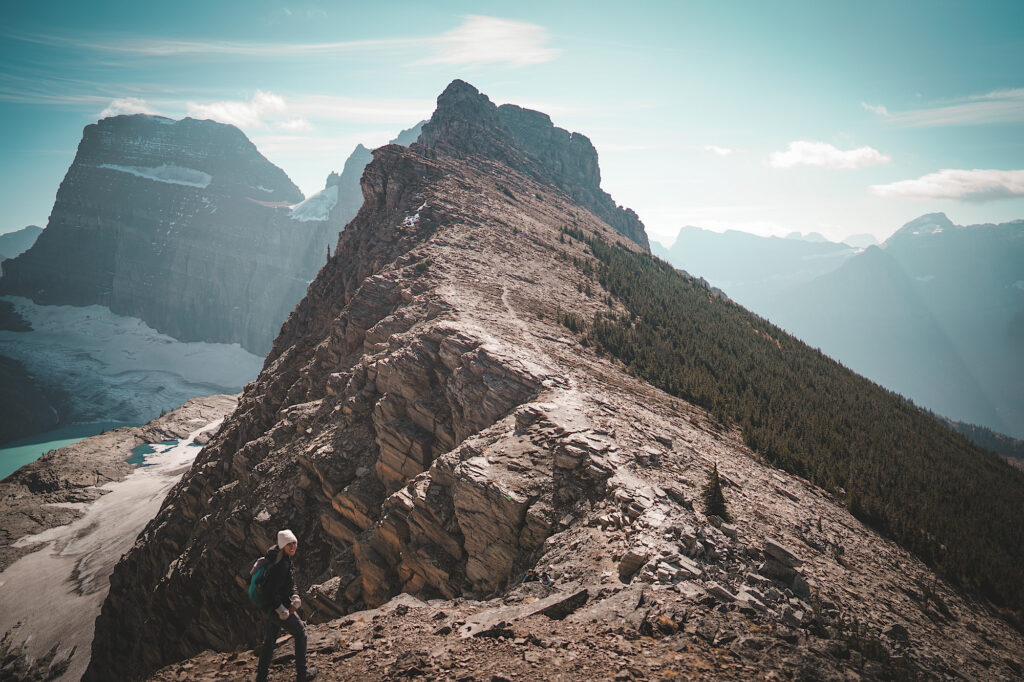
When I tell you it took me 50 minutes to hike 0.6 miles, I am not lying. I am super out of shape. I was getting passed by some people, but that just tells you this leg of the hike is no joke. It is super steep, and I kept telling my friend I was with that it wasn’t worth it, because I hated it so much in the moment. BUT, I changed my mind since then.
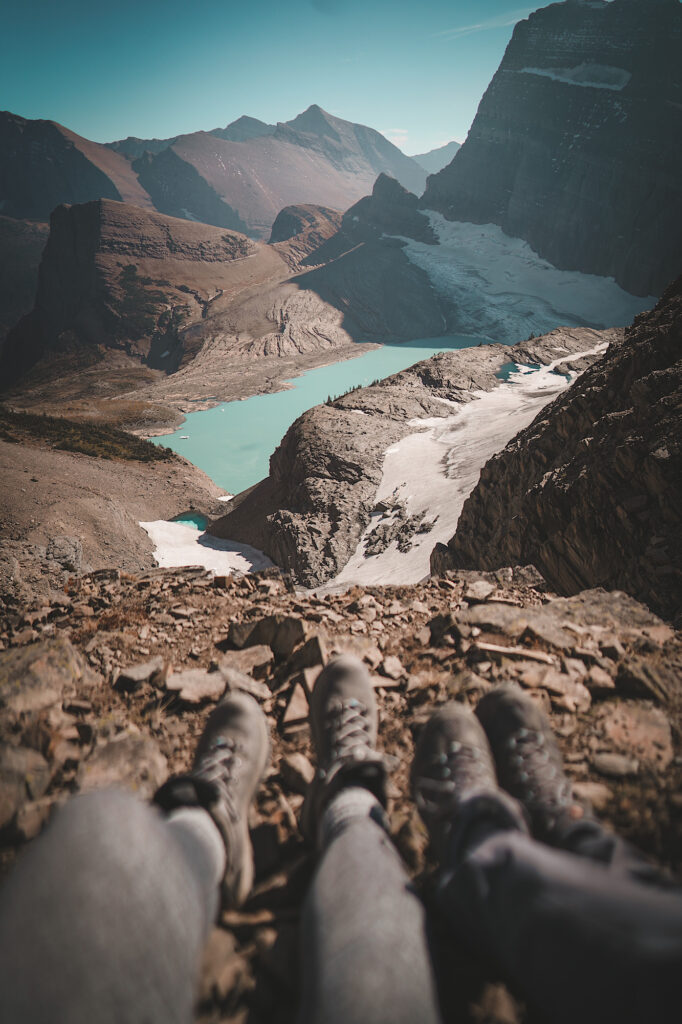
Once I got up there, it was a sense of accomplishment I hadn’t felt in a long time. We got to eat our mid-hike snack of peanut butter crackers. It was so windy we had to hold onto the rocks as we walked around, but the blue of the glacier water just can’t be beat. So, even though it will challenge even experienced hikers, it is worth it. Maybe not in the moment, but you will feel like you truly pushed and challenged yourself to complete something great.
TIPS & TRICKS
Before embarking on this trek, it is important to keep in mind some important information about the trail. Please remember: food, shoes, backpack, parking, bathrooms, etc. When hiking a long, day hike, it is vital that you come prepared for your safety and well-being!
Food & Drink
If you are out hiking for longer than 3-4 hours, please make sure you take some sort of food with you. The best idea is to take food that you can complete in one sitting. Make sure that it will provide you with the appropriate nutrients. You need food that will stay with you and give you energy to burn more calories than normal.
Some good ideas that we took were: peanut butter crackers, an apple, and trail mix. It was more important to us that we had plenty of water, but we made sure that we had enough food to last us the majority of the day. While the snacks or full meal is important, just make sure you bring enough water.
If you think you have enough water, pack more. You can never have too much. While you will be okay without having over-the-top amounts of food, you will not be okay without enough water. Even if it’s a colder day, you can still get dehydrated from hiking long distances. If it is heavy carrying it, don’t worry, as you drink the water and get more tired from the hiking, the lighter it gets! If you are worried about where you will go to the bathroom after drinking all of the water – trust me, it’s better to have to pee in the woods than pass out from dehyrdation.
So, please make sure you pack nutrient-filled snacks and plenty of water for your hike. Always be over-prepared rather than under-prepared.
Shoes
I could barely feel my feet by the time we were done with this hike. Granted, I don’t hike much, but I still had some decent Columbia hiking boots that are very durable. It is tough on your feet to hike these long distances on rough terrain.
This being said, invest in hiking boots!! If you’re doing this trail, chances are that you will be hiking again or that you are a hiker. While we are on the subject, wear some good thick socks too – and PACK BAND-AIDS!
Hiking up and down so much can really dig into your feet and create some nasty blisters. Just do yourself a favor and be over-prepared when it comes to preventing and managing the side effects of hiking.
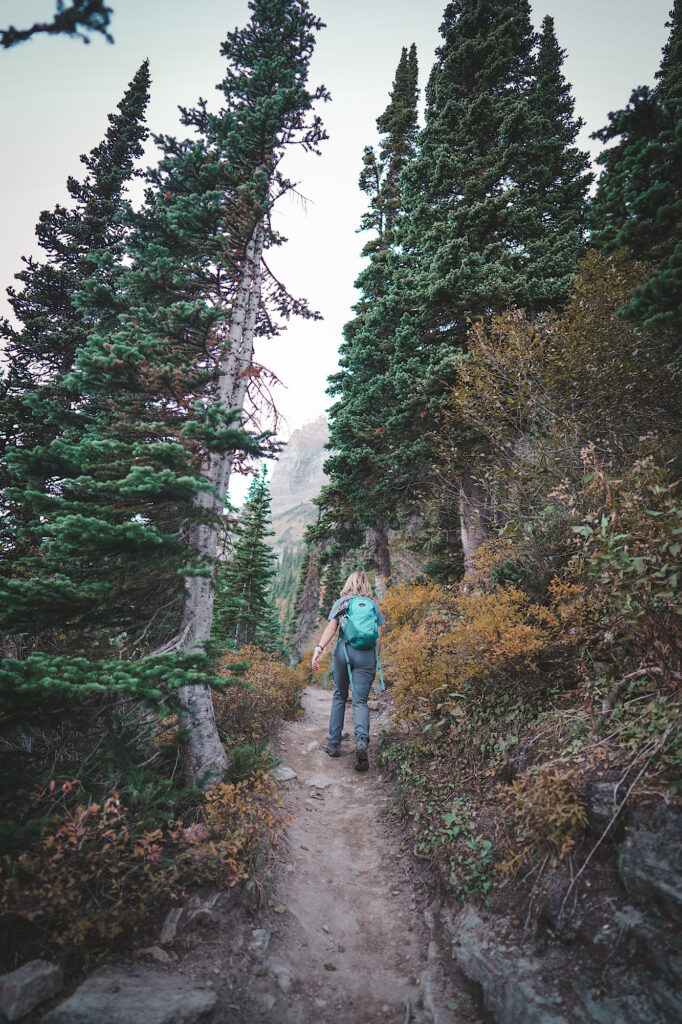
Backpacks
As I mentioned earlier and as I keep talking about the supplies you will need for your hike – make sure you bring a good backpack or daypack! For me, I have a bigger backpack to hold all of my camera gear. I highly suggest buying or bringing a camera bag that has specific spots for your lenses and accessories if you have them. That way you aren’t damaging them while hiking.
Other than that, you need plenty of space for water, more water, and extra water. Don’t forget, have a safe spot in your backpack for your snacks and food as well! If you’re bringing crackers, you don’t want them getting all smushed in your backpack only to be disappointed once it’s time to eat.
Also, you want to make sure that you have any and all safety items you might need. For example, bring bear spray and First Aid supplies. Yes, it’s not fun to lug around a huge backpack, but if you’re out for hours, it’s better than worrying. And, as I mentioned earlier, it will get lighter as you drink water and eat your snacks. Just make sure it’s got good, supportive straps so that it doesn’t hurt your shoulders, back, or neck!
Bathroom/Toileting
As you can imagine, there are no bathrooms on this trail. When I tell you it is dead quiet once you go even one-two miles out, I mean there is nothing but you and nature. That means, you and nature will get quite close while on your hike.
Before you hike, you can use the bathrooms at either of the parking lots for the hike. I will get to in the next section. But, while you’re on the trail, get ready to pee in the woods. The “fairy gardens” as I like to call them are going to be your best bet. They are more wooded parts of the trail, so it provides the most coverage.
But, as a warning, this could also be where the animals are lurking. Before you go to run into a super-covered spot, check for wildlife, and make sure someone is watching you. And if you have to use toilet paper – LEAVE NO TRACE! Bring a bag to put your toilet paper or feminine products in, but better yet, use a leaf.
Some parts of the trail are going to be much more open and heavily trafficked, so make sure to plan ahead if you start to feel like you need to go to the bathroom so you can feel comfortable doing so.
Parking
Like I mentioned above, there are two parking lots. If the shuttle is running when you go, you can park at either parking lot, but most people are going to be parking at Logan Pass. Again, from there you will find Haystack Butte within 3.6 miles and Grinnell Glacier within 7.2 miles – this is the most popular starting point.
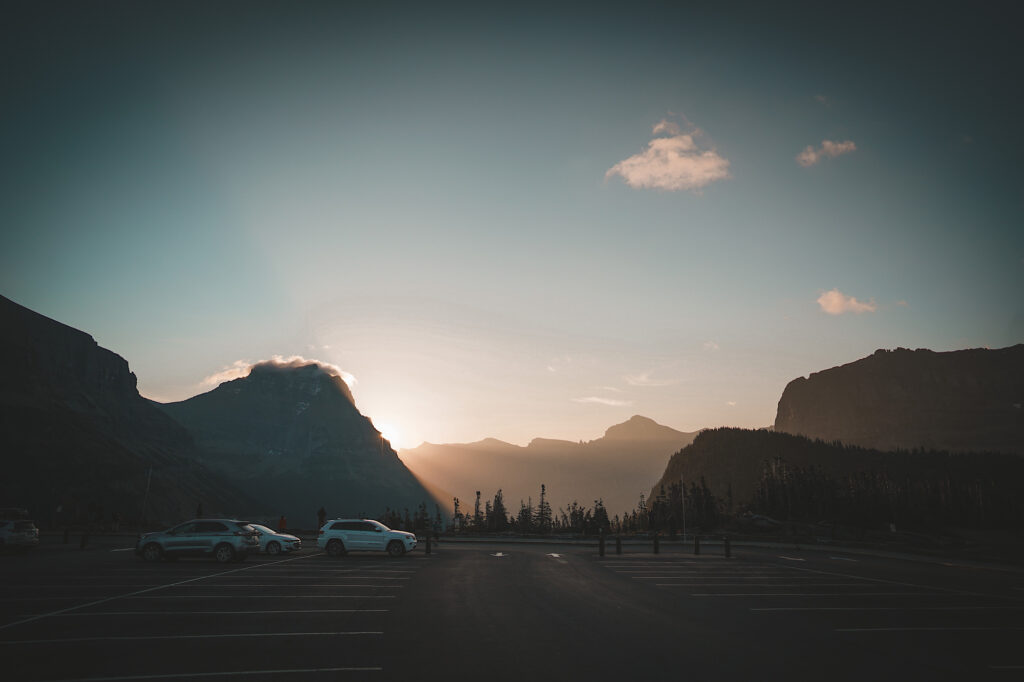
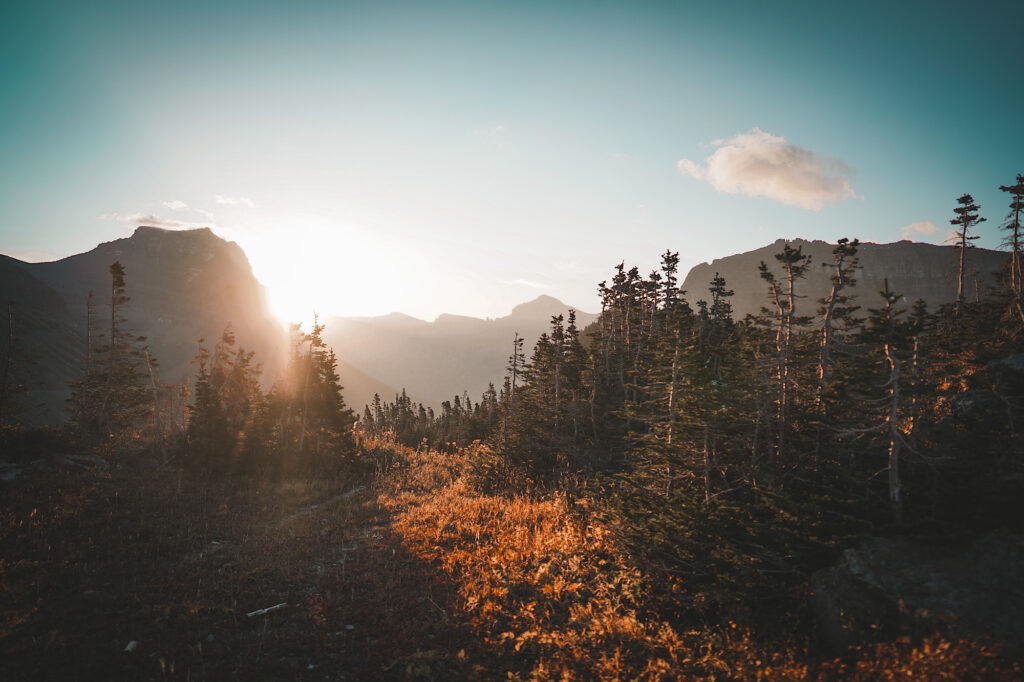
At the Logan Pass parking lot, there is a Visitor Center and public restrooms you can use. Also, there is a killer view of the sunrise if you get there early enough to start your hike, which I highly recommend to avoid the crowds. From Logan Pass parking lot, you will simply cross the main road and begin your hike – don’t forget to take a picture at the sign!
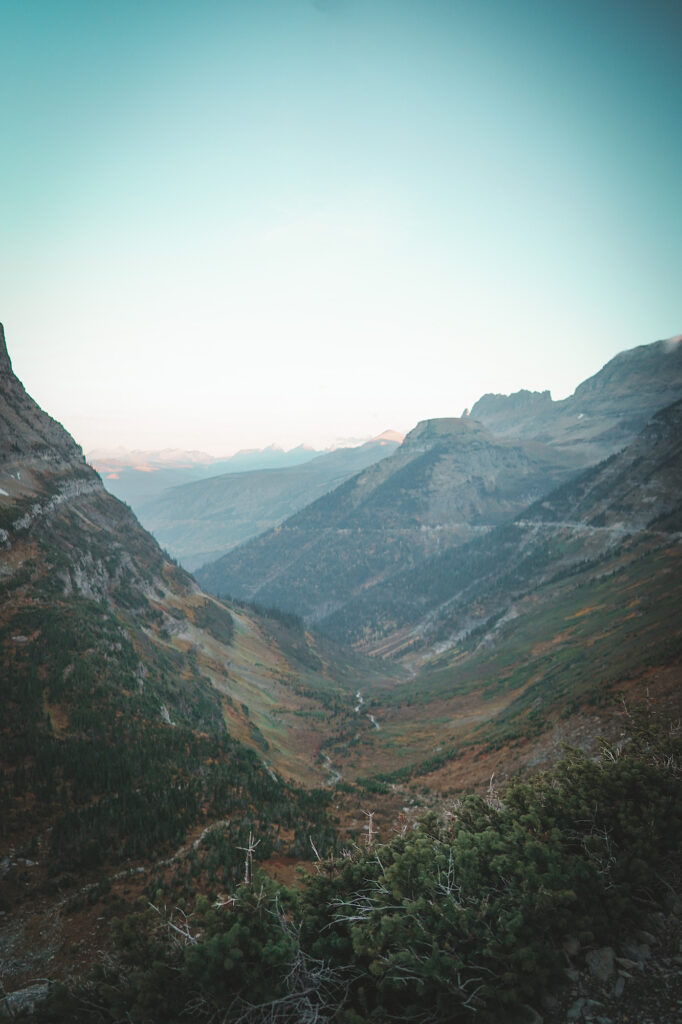
The other option is “The Loop” parking lot. I wouldn’t suggest this one, because there isn’t an overflow of parking, and most of what you will want to see is going to be from the other side. It is important to note that it is called “The Loop” for a reason. It sits on a very sharp turn, with stunning views of Glacier National Park. That’s why there is usually no parking, because people are stopping to take pictures, and not to mention there are a couple of bathrooms there as well.
So, there is a shuttle that runs between the two if you come at the right time. If you hike from Logan Pass to “The Loop,” you can easily get a ride back to your car and vice versa.
PLEASE NOTE: It is not walkable from either parking lot to the other! If the shuttle is not running, do not try to walk from one side to the other using the road. You can only use the trail. The road is already very narrow for cars driving up and down the mountains, and it is a very long walk.
SAFETY
Please read before you go! It is super important to know what the risks are before you go. We weren’t prepared, so I want you to be!
Bears
Yes, you read that right. Maybe you already knew that it was a possibility, but we saw a total of 7 bears during our time at Glacier. One group of those was a family of a momma bear and her 3 cubs (black bears) crossing the river at the St. Mary Falls trail. The other 2 (brown bears) somehow made it onto the road right near “The Loop” so we saw them from our cars.
But, the scariest one was on the Highline Trail. We saw one large, black bear on the Highline Trail, and it was one of the scariest moments of my life. I don’t know why we didn’t consider bears as a huge risk for our time at the national parks. It’s not like they are uncommon?
Anyway, MAKE SURE YOU BRING BEAR SPRAY! We saw the bear as we came off of Grinnell Glacier and were making our way back to Logan Pass. It was maybe a few hundred feet away from the start of the hike to the glacier, and a few groups of people told us that they had seen a bear on the trail but that it had gone back into the wooded areas.
We reluctantly started hiking back and decided to join up with a couple who we thought could just be there in case we needed it. Well, we had barely started walking when the group saw the bear literally walking the trail towards us. We scurried back to the more open area, staying cautious of the bear behind us, and stood on some large rocks on the upper part of the trail.
Not long after that, more and more groups joined us up there as we told them what we had seen. Soon, the bear emerged from the wooded area into the open area at the lower side of the trail. It was a sight for sore eyes, seeing a group of at least 12-15 people standing on rocks waiting to figure out where the bear had gone.
After we saw the bear, a large portion of the group banded together and just started hiking. The guy at the front of the group had bear spray and we essentially jogged/ran a mile into the trail. It took that long before we felt comfortable walking in our separate groups. The story is much longer than that, but it is just simply so important that everyone buys and brings bear spray on their hikes!
You never know when a bear could appear on the trail, so it is important to know the difference between the types of bears. For black bears, it is important that you make noise. For brown bears, it is important that you stay silent and play dead. As the saying goes, “Brown, lay down. Black, fight back.” Please remember this as you are hiking! Always make noise as you round corners, and just keep talking.
The Ledges
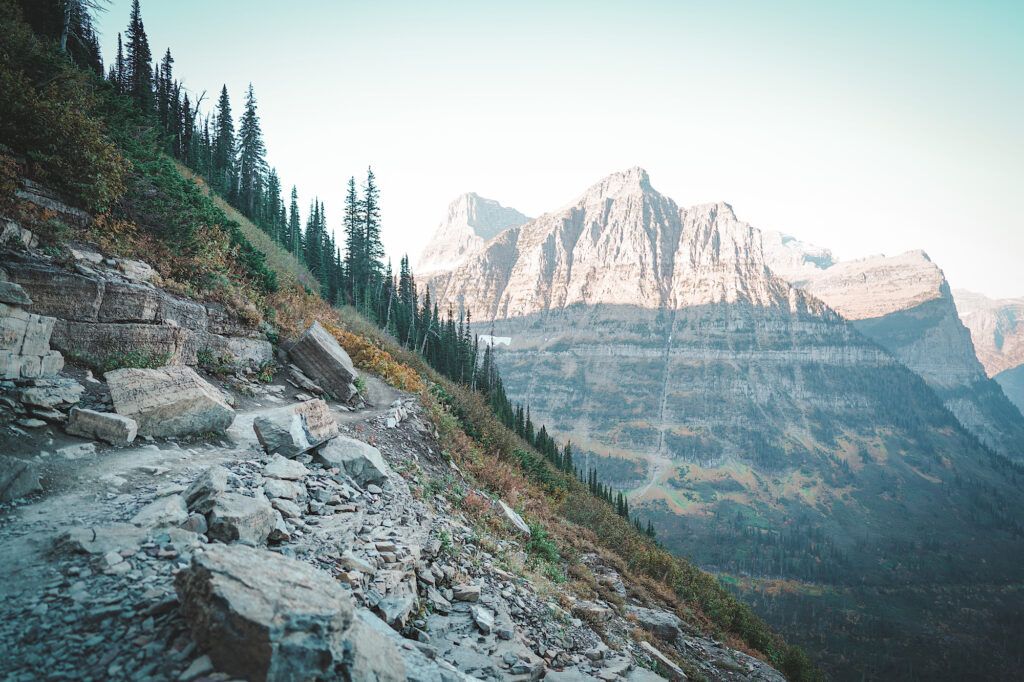
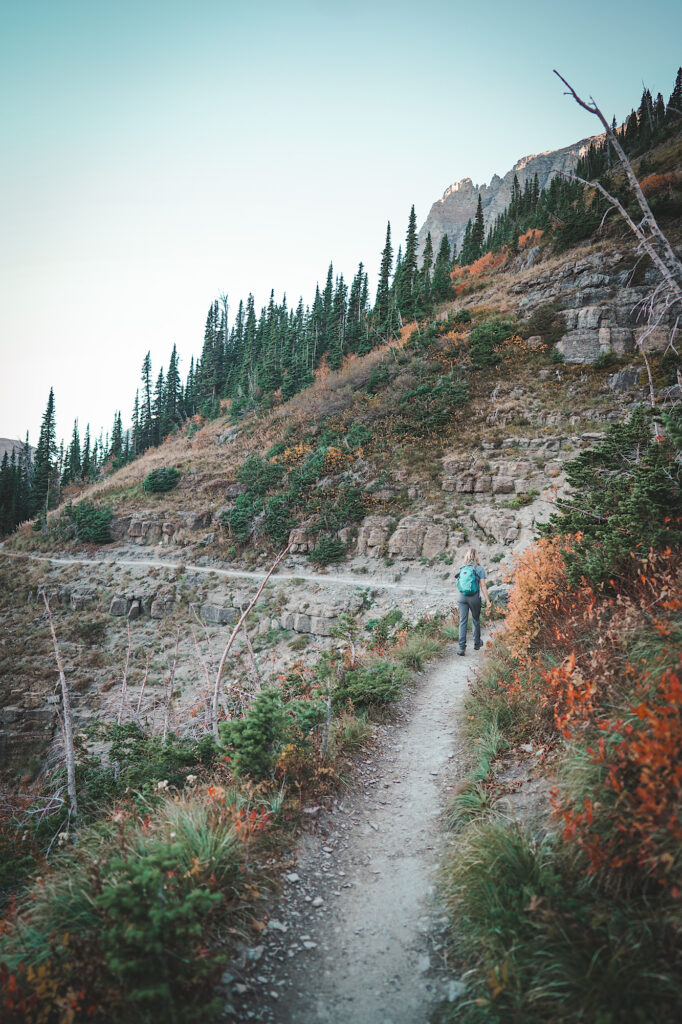
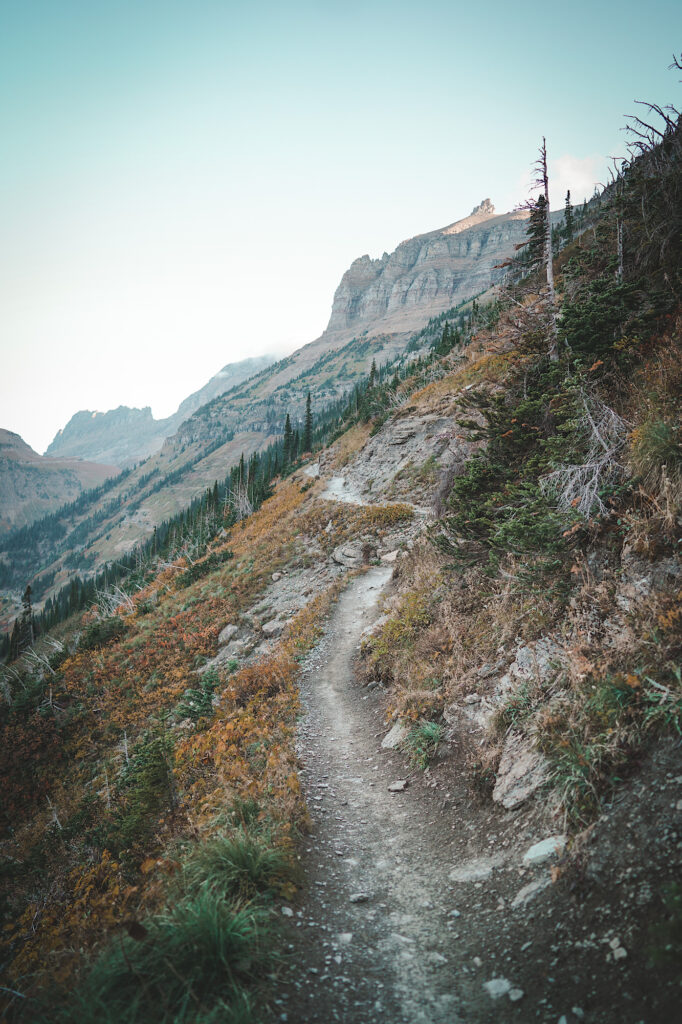
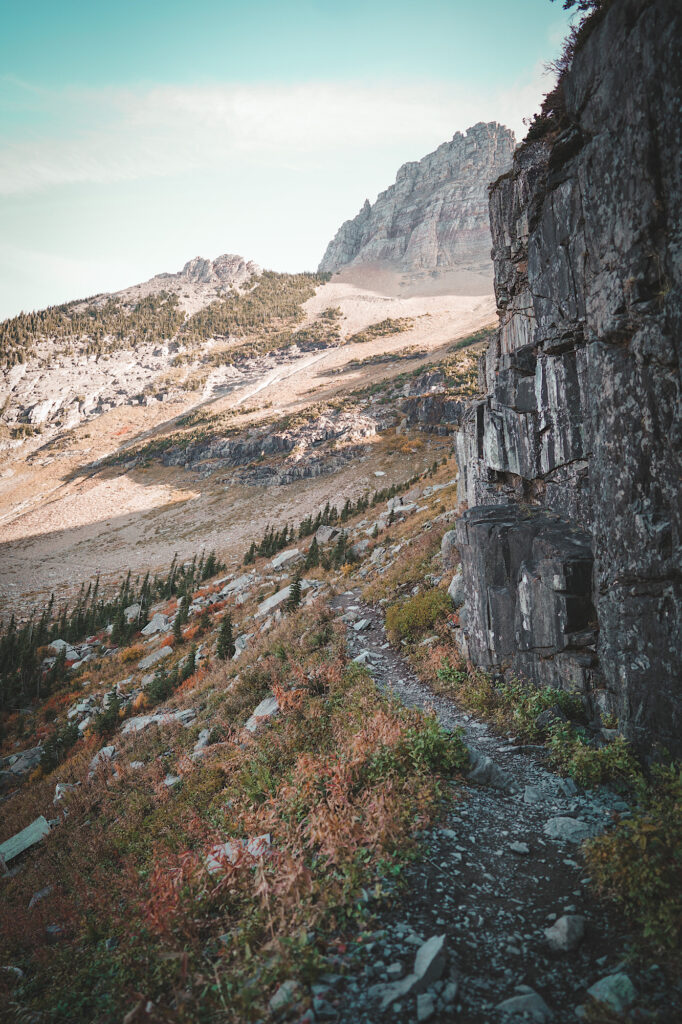
I’m sure every picture you have seen shows how narrow the trail is. What is interesting is that the part with the rope to hold on is not the narrowest part. No, it gets more narrow as you go. I’m including this in a safety tip because you really can’t tell until you’re there.
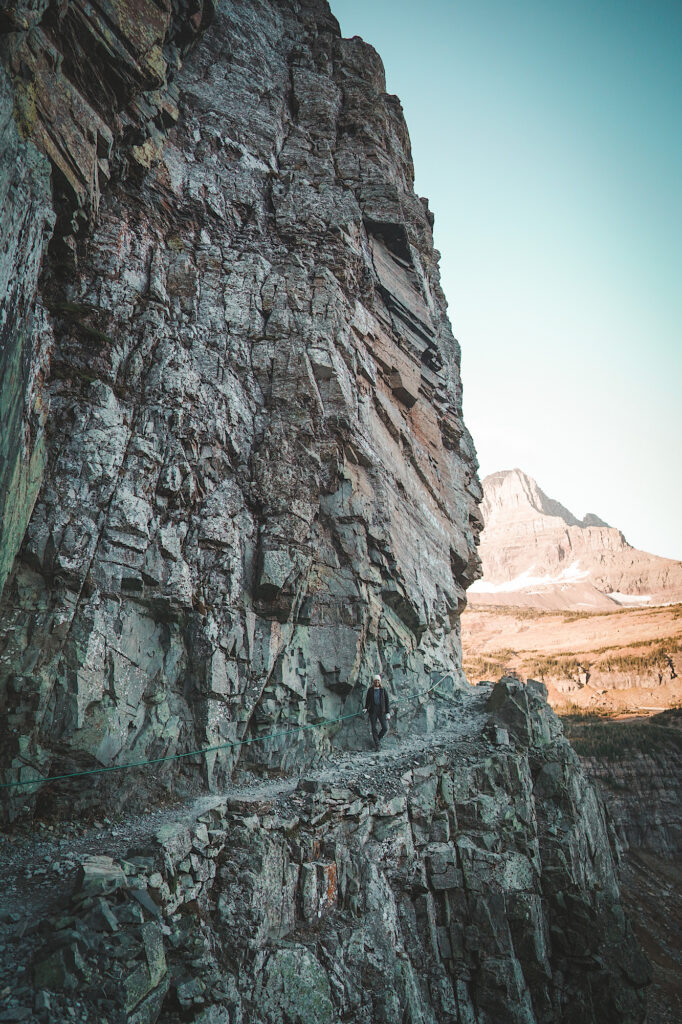
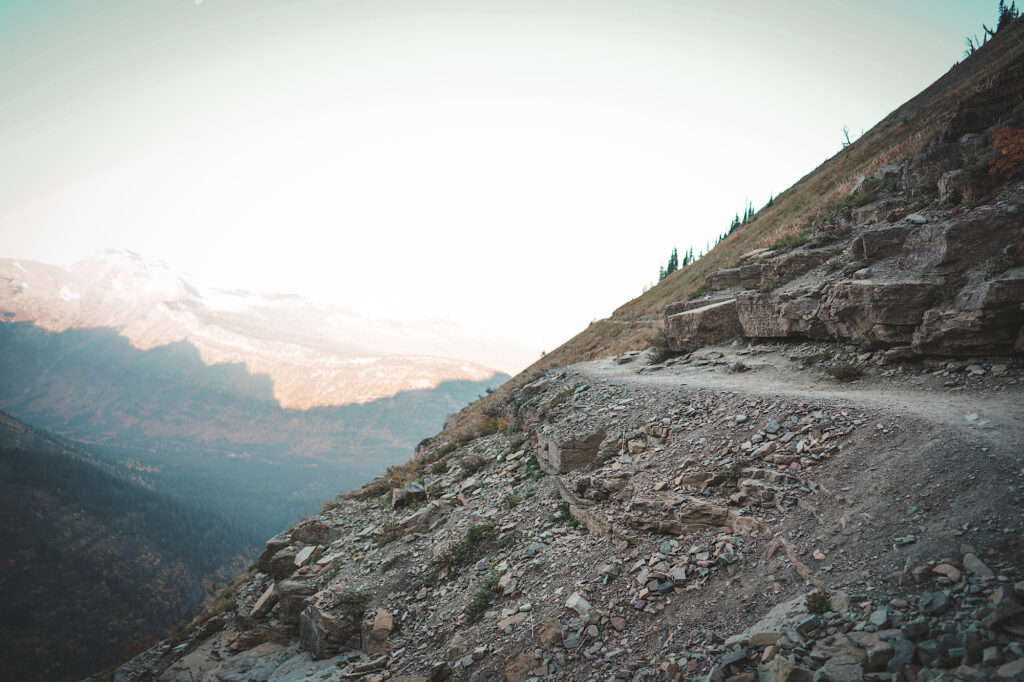
The ledges are very narrow. In fact, almost the entire trail is on a ledge of a mountain. While that can be scary, it’s also exhilarating and makes for amazing pictures. Just please be careful! This is where the proper hiking shoes and the proper nutrition come into play. It is so crucial that you are prepared and can hike to the best of you ability. This will prevent any unwanted accidents or mishaps.

It is not so narrow that you feel as if you can’t put one foot in front of the other. But, just be aware that you need to be paying attention while you hike. Some parts are going to be in more wooded areas where there are leveled out spots to pee. But, for the most part, you are hiking on the side of the mountain. There is no getting past that.
When you hike, just make sure you are watching your step. Make sure you are aware of your surroundings. Make sure you are prepared for an incredible hike.
Conclusion
Don’t be afraid! I am not a hiker, but even I did it. Seeing pictures is enough to be entranced by the beauty of the trail. I would highly encourage everyone to make this hike a top priority. It is so worth it, and it is even better if you are well-equipped to do it.
Just know, you can decide how far you want to go beforehand, or you can let the trail tell you. I thought I wouldn’t make it to Grinnell Glacier, but it was so beautiful I couldn’t stop. This is a must-see while in Glacier National Park! Carve out a day or a half day to hike even to Haystack Butte and you won’t regret it.
To read more about the entire trip, visit Glacier National Park, Yellowstone, and Grand Tetons in 5 Days.
To read more about Going-to-the-Sun Road, visit 10 Incredible Stops on Going-to-the-Sun Road.


One Comment
Web Site
Hello there, just became alert to your blog through Google, and found that it is truly informative. I am gonna watch out for brussels. I’ll be grateful if you continue this in future. Lots of people will be benefited from your writing. Cheers!